

Refocus AI mode improves the sharpness of out-of-focus images and fixes motion blur problems. It lets you re-focus the entire image or bring only certain elements into focus creating a more expressive picture.


In this processing mode, you can choose to apply any or both focus improvements options - Motion Deblur AI and Image Sharpening, and if necessary enable the Background Defocus feature.
Follow the steps below to repair out-of-focus images using Refocus AI mode:
Step 1. After loading a photo, it is processed with the selected parameters, and the result is immediately shown in the quick preview window.
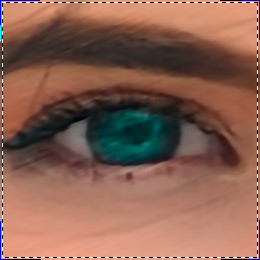
You can drag the preview area to analyze the effect on the different parts of the photo. Click within the preview to compare the processed sample with the original image. It can be switched on/off with the button ![]() . Change the size of the preview in Preferences
. Change the size of the preview in Preferences  .
.
Step 2. Adjust the settings to achieve the best result.
Motion Deblur AI
The AI mode helps to fix blurry images using a trained neural network. This method is extremely good for improving photos that were blurry due to the camera or subject movement.
Remove Artifacts (0-30). Reduces the likelihood of artifacts and non-existent details in a photo. Be careful: higher values can lead to blurry results.
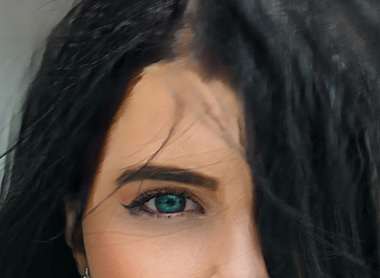
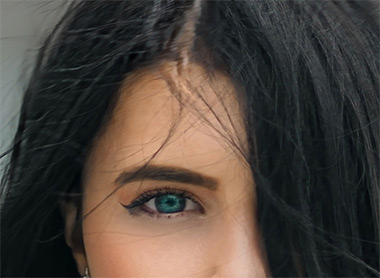
Focus (2-9). Blur removal and improvement of sharpness of a photo. Use the parameter value depending on the initial motion blur: the stronger the blur on an image, the higher the value to set.

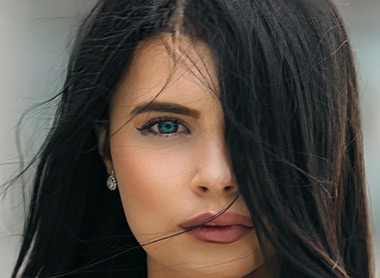
Image Sharpening
The image processing method adjusts different types of sharpness and blur and helps to efficiently bring photos into focus.
Smoothing (1-10). The parameter sets the level of smoothness. The higher its value, the stronger the influence of the other parameters is.
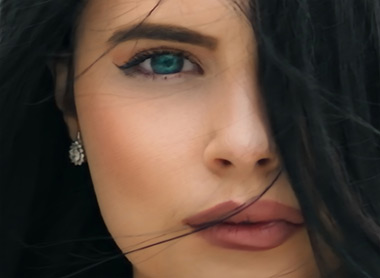
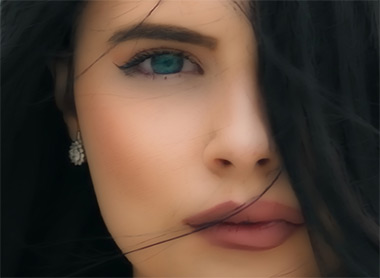
Color Blur (1-10). The parameter is used for alignment of colors to a uniform state that lets removing fringing and halos. It is especially effective in tandem with the previous parameter.
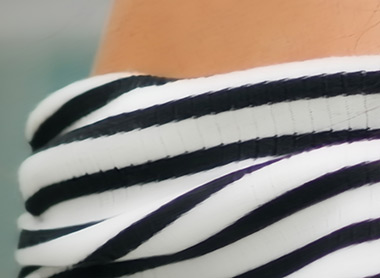
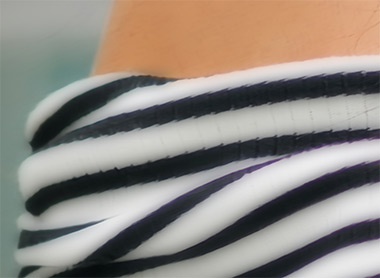
Level of Detail (0-50). The parameter strengthens details on an image. Note that at higher values it can produce noise.
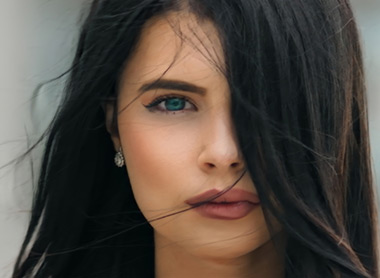
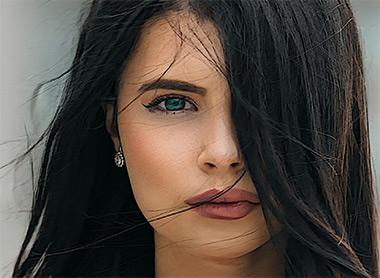
Sharpness (0-50). The parameter changes intensity of the refocusing effect.
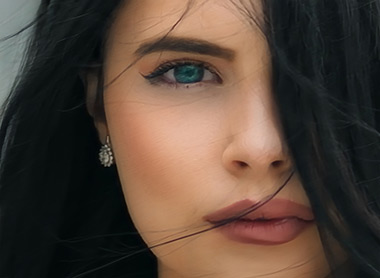
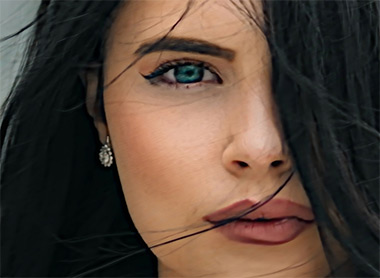
Remove Noise. This option lets reducing the side effects which can appear on the image (digital noise, grain, artifacts).
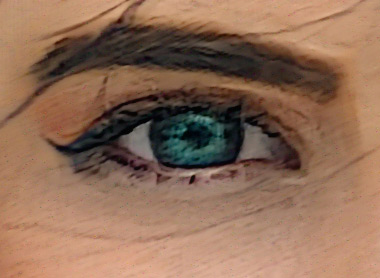
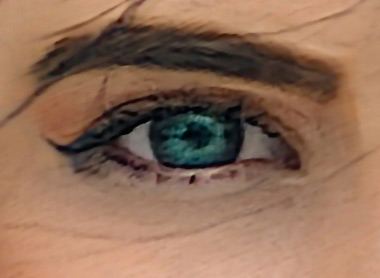
Step 3. You can process only certain areas using the tools ![]() and
and ![]() .
.
Note: This feature is only available for Home Deluxe and Business licenses.
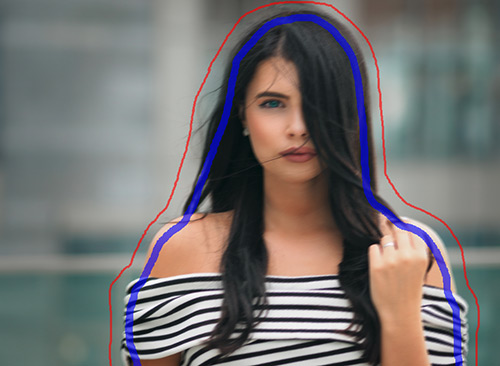
Focus Area ![]() . Use the blue pencil to select areas to be processed with the above mentioned settings.
. Use the blue pencil to select areas to be processed with the above mentioned settings.
Background Area ![]() . Use the red pencil to outline parts that will remain in their original state or will be blurred.
. Use the red pencil to outline parts that will remain in their original state or will be blurred.
Hint: We recommend drawing a closed outline around the objects. Otherwise, the effect can extend over the drawn borders.
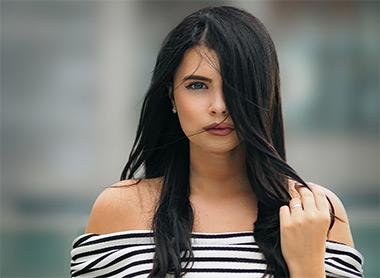
Adjust Background Defocus -> Blur (0-1000). The areas marked with red will be blurred. This option will help you achieve the realistic selective focus effect.

Eraser ![]() . Use the tool to erase the red and blue strokes. The tool works in one of three modes:
. Use the tool to erase the red and blue strokes. The tool works in one of three modes:
- erase all strokes;
- erase only red strokes;
- erase only blue strokes.
You can adjust the Size of the tools in a pop-up window that appears after right clicking in the image.
Step 4. Click  to start image processing. You can interrupt the process by clicking on the Cancel button right to the progress bar.

Step 5. If you like the new settings you can save them as a Preset and use them later. Enter a name for your new preset and press Save.
Note that you can save into the presets only the parameters values shown in the Settings Panel. The presets do not include the areas selected with the tools.