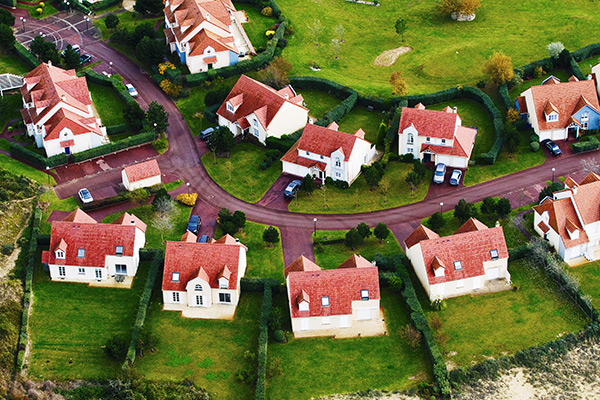
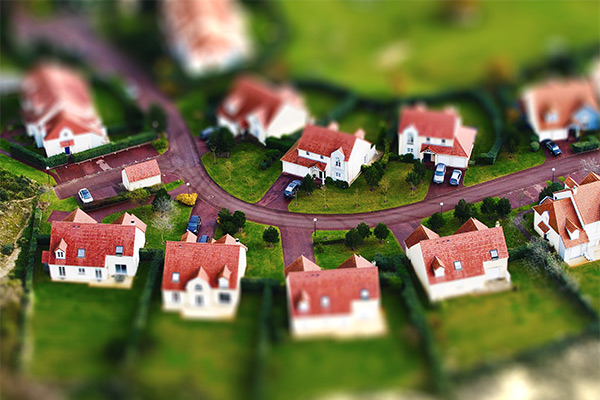
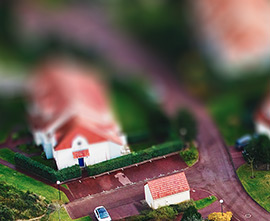
Tilt-Shift mode allows leaving a sharp strip in the image, adding gradual blur at the edges, with smooth transitions between the regions. This mode gives the objects on the photo a "toy" look. It blurs the outer parts and makes the objects appear as if they are miniature models. It looks like the program transforms full size people, buildings, cars into their tiny versions.
In real photography, you can achieve this effect with special tilt-shift camera lenses. Using AKVIS Refocus AI you can bring any photo into a world of miniatures.


Follow the steps below to apply this effect to a photo:
Fast Preview - this option lets you try the settings on a smaller copy of the original image.
Full Processing - the image in its original size will be processed with the chosen parameters.
Processing will start automatically, in the visible part of the image, every time you change a parameter or the effect area.
Once you have adjusted the parameters, it is recommended to try the full processing to make sure that the best settings are chosen. Choose the Full Processing option or click on  to process the entire image.
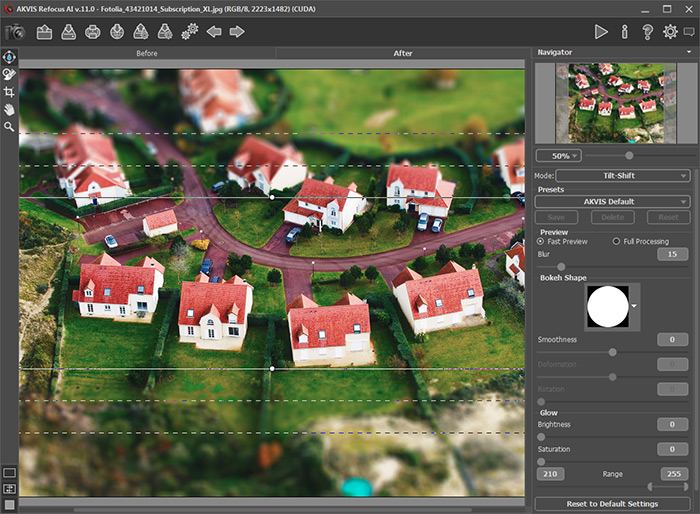
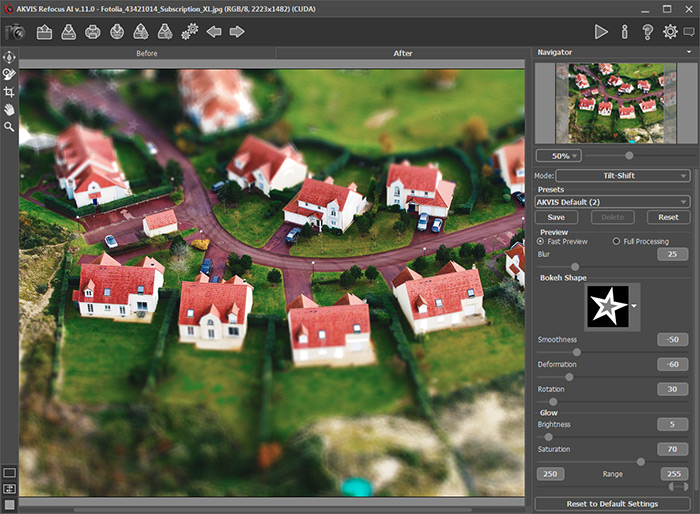
- solid lines help to adjust the size of the un-blurred area;
- dots are used to rotate the effect area;
- internal dashed lines let adjusting smooth transition between blurred and un-blurred areas;
- external dashed lines define the area of maximum blur.
To move the area, place the cursor in the un-blurred part (it will turn into crossed arrows ![]() ) and drag holding down the left mouse button.
) and drag holding down the left mouse button.
To re-size any section, put the cursor on the line bounding this area (it will look like a double arrow ![]() ) and drag with the left mouse button.
) and drag with the left mouse button.
To rotate the area, place the cursor over a dot (it will turn into a rounded double-sided arrow ![]() ) and move holding down the left mouse button.
) and move holding down the left mouse button.
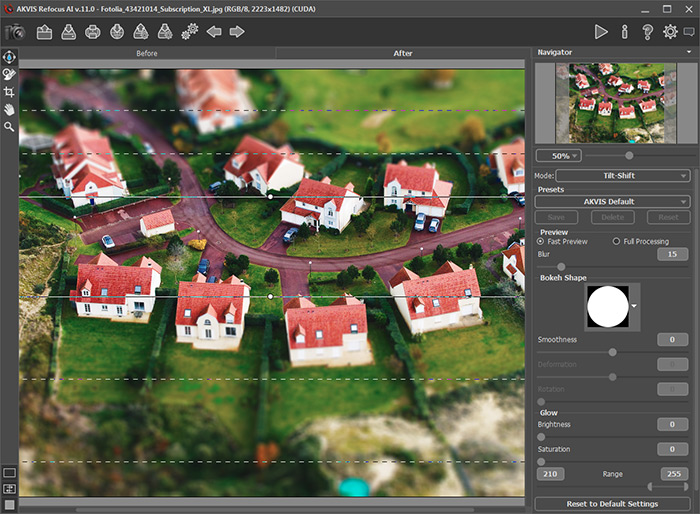
Hint: To hide the lines you can deselect the tool ![]() .
.
The Blur parameter lets you adjust the strength of the blur effect. The higher the value, the greater the blur is.

You can change their shape by adjusting the parameters of the Bokeh Shape section.
Using the Glow parameters, you can increase the brightness and saturation of light spots.
 to start processing of the entire image.
Note that the presets save only the parameters values in the Settings Panel, and do not save the effect area.