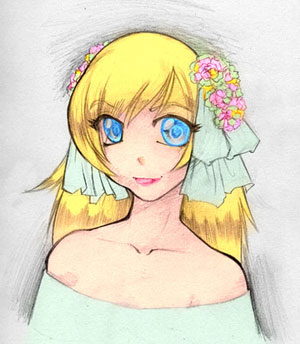
He found a free anime style drawing on the net.
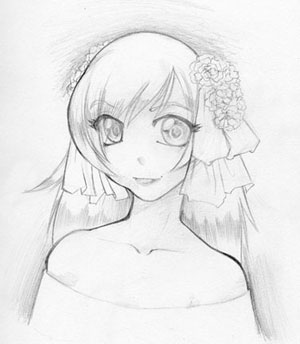
He opened the picture in Adobe Photoshop and called the plug-in AKVIS Coloriage.
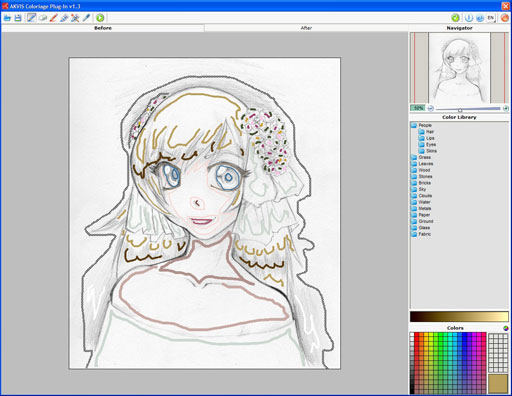
He chose colors for every detail of the anime picture using the Pencil tool.
He selected the colors for the skin, hair and lips from the Color Library. Take into account, that when you set color for the face, you should outline the eyes and the lips. Otherwise, when you set bright colors for these areas, the blue of the eyes and the red of the lips will spread to the skin around.
He set two colors for the hair - a dark and a bright one. Besides the strokes were not straight but zigzag.
He set several colors for the flowers in the anime girl's hair.
Press the button ![]() to
see the result.
to
see the result.
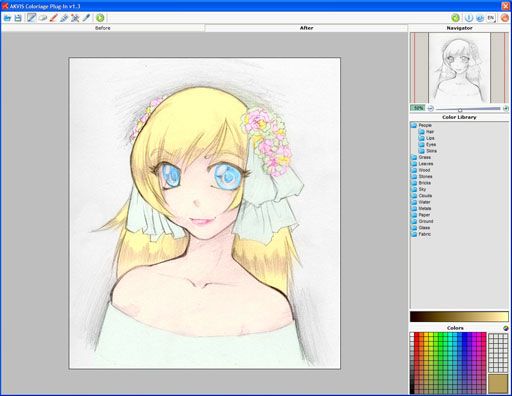
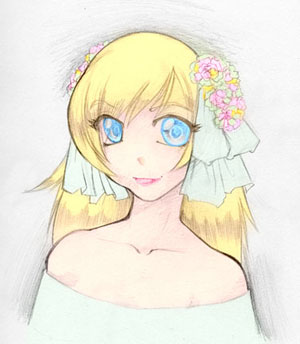
However, the colors of the picture are pale as it is drawn with a pencil on a white canvas. To make the picture more expressive Laval Yan selected the menu item Image - Apply Image and in the "Apply Image" window he set the mode Multiply for the Blending parameter and pressed the button OK.
