Prepress Mode
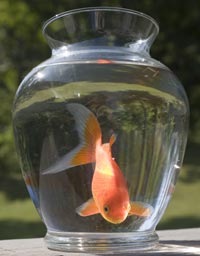
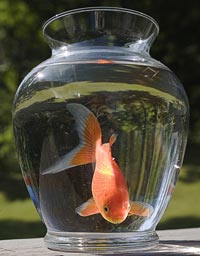
When printing photos, the result on paper will sometimes be different than what appears on your monitor. While the contours of objects may look perfect on the screen, on paper they may appear fuzzy. To avoid this, process the image before it is printed.
Use Prepress mode to increase the sharpness of borders and the contrast of the image.
Even if you are not going to print the photos you can use this mode to improve them. For example, before publishing in your online album.
 |
 |
| Original Image |
Result |
To process an image in Prepress mode:
- Step 1. Once this mode is selected the Quick Preview will appear.
It is a square area outlined with the "marching ants". This lets you quickly preview the result in different areas of the image. You can move it to any part of the image - drag and drop or double click. To compare the result with the original picture, click and keep mouse pressed within the preview area.
You can change the preview area size in the program's preferences.
- Step 2. Adjust the image processing parameters.
The parameters under Sharpness can be used to make an image appear sharper and its details clearer.
- Radius. This parameter, which accepts values between 1 and 100, determines the width of the zone in which the boundaries of objects are sharpened. A high value may cause halo artifacts.
- Strength. This parameter affects the degree of contrast enhancement along the boundaries of objects. When the parameter is increased the image becomes clearer. Its work depends on the value of Radius. It accepts values from 0 to 100.
The parameters under Contrast enhance the contrast of the image by lightening light areas and darkening dark areas.
- Shadows. This parameter accepts values from -50 to 100. This parameter enhances shadows. Increasing the value will make dark areas darker, while decreasing the value makes them lighter.
- Highlights. This parameter accepts values from -50 to 100. When you move the cursor to the right of 0, the light areas of images become even more light. Moving the cursor to the left increases the number of gray tones.
- Step 3. To process the entire image press
 .
.


